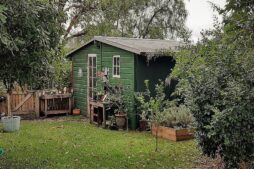
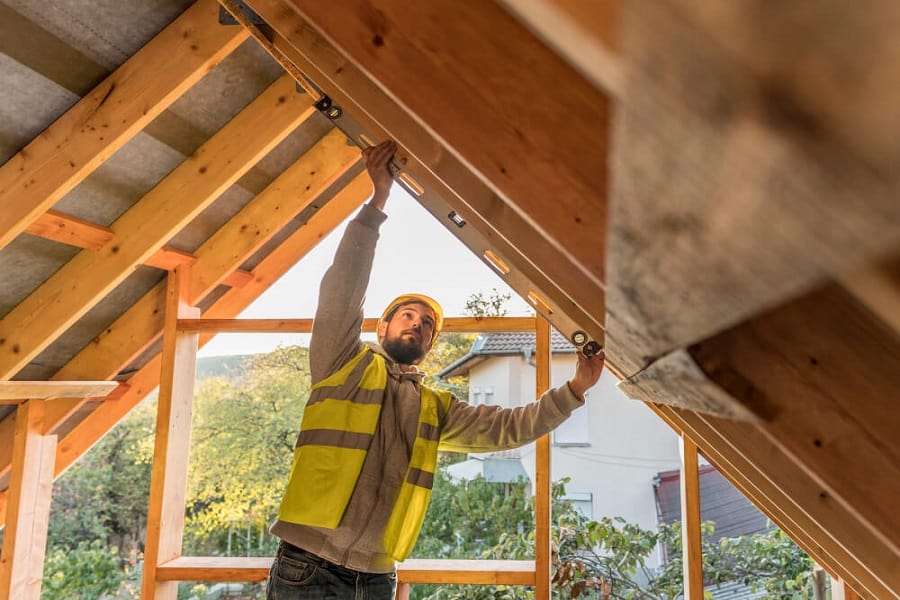
Building a wooden shed in your garden is not just a functional addition but also a testament to your DIY skills. In this article, you will find everything there is to know about how to build a wooden shed in the garden, as well as how to build a concrete base to ensure that your wooden shed remains stable and level. Be sure to check out our garden building structures to see if anything peaks your interest.
- Safety First!
- Materials You’ll Need:
- Tools You’ll Need:
- Understanding Your Shed’s Purpose:
- Build a Wooden Shed: Step-by-Step Guide
- Building a concrete shed base
- How much concrete will I need?
- Step 1: Choose the right location
- Step 2: Level the site
- Step 3: Building a timber frame to contain the concrete
- Step 4: Mixing the concrete
- Step 5: Add shed to top of the base
- Construct Your Own Garden Shed
- FAQs
- Sources
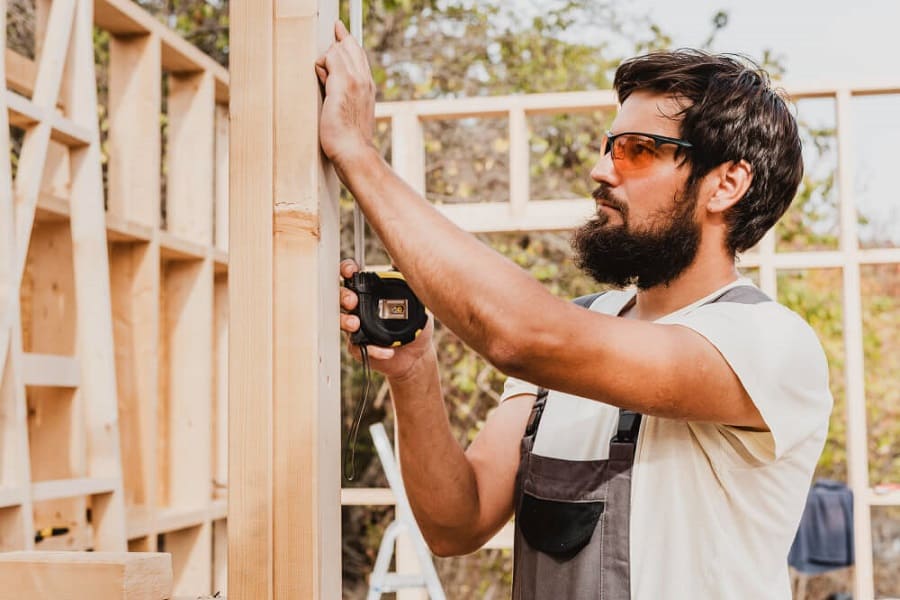
Safety First!
Before you begin with your project on how to build a wooden shed, you should ensure safety first. When undertaking a project of this level, where you may be putting yourself at risk, you will need to wear protective gear, including gloves, safety glasses, and sturdy footwear. You should also keep your workspace clear of obstacles and ensure children or pets are at a safe distance.
Materials You’ll Need:
- Timber (specific type and quantity will vary based on shed size)
- Screws and nails
- Roof felt
- L brackets
- Plastic glazing strips for windows
- Styrene panes
- Door blocks and strips
- Turn buttons
- Timber bearers
Tools You’ll Need:
- Screwdriver
- Drill
- Hammer
- Tape measure
- Ladder
- Utility knife
- Cement mixer or mixing board (for concrete base)
- Wheelbarrow
- Tamp board
Understanding Your Shed’s Purpose:
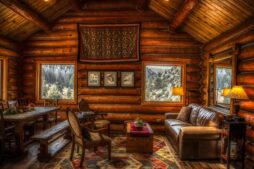
Before you begin to build a wooden shed, have you underlined the purpose behind it? Will it be a simple storage space, a workshop, or perhaps a garden retreat? Knowing your shed’s purpose will influence its size, design, and the materials you choose.
Build a Wooden Shed: Step-by-Step Guide
Now that you have made the primary precautions, you can begin to build a wooden shed, following these steps:
1. Prepare your area and base
Select a location that’s easily accessible, receives adequate sunlight, and is safe from flooding. Clear the surrounding area and ensure the base is level. For larger sheds, a concrete base is recommended (see further instructions below), while a wooden base is suitable for smaller ones.
2. Constructing the shed body
Begin with the floor panel. Ensure it’s level before proceeding. When fitting doors, always ensure they’re correctly positioned before securing the hinges. This prevents alignment issues later on. Locate the floor panel on the base, and ensure that the bearers flush alongside the edge.
Now, you can begin constructing the building format using the rear gable on one part of the shed. Keep the layout upright at all times in the shape of an L.
3. Screwing shed panels together for installation
Next, you can secure your panels at the lower, central, and upper sections of the corners.
Ensure the panels are aligned such that the framing components snugly fit against one another and lie flat on the ground. Before screwing, drill pilot holes and then fasten the panels at the upper, central, and lower parts.
Attach the second side panel to the back gable using the same method.
Affix the front gable, which has the door fitted, by screwing it in the upper, central, and lower sections.
3. Construct the roof
Get your roof panels ready before fixing them to the shed.
Attach an L bracket to both ends of the roof’s main bar. Line this up with the shed’s highest point and fasten it.
Place the roof panels flat on the ground. Put an eaves frame below, ensuring it aligns perfectly on the sides and ends.
4. Installing roof panels for shed
Make sure the roof sits evenly on its frame before using screws.
Fasten the roof panel to the eaves frame. Always drill holes first before screwing.
Move the roof panel onto the gables and attach it by screwing it to the frame underneath on every side. Do the same for the opposite side.
Once the roof is set, anchor the shed frame to the ground to keep it stable. Drill holes first, then screw the frame to the base below.
5. Cover roof with felt
Flatten any creases or bubbles before attaching the roofing felt.
Size the roof felt, leaving an extra two inches around the edges.
Lay the felt on the roof, pinning the top corners first, then fasten the bottom. Stretch the felt tight to avoid creases. Add more if any part of the roof remains exposed.
Do the same for the other side. For the roof’s peak, use an overlapping piece and secure it on both sides. Think about using shingles for added protection.
5. Add the corner trims
Corner trims shield sharp edges and guard against weather.
Place the wood trims on the side frames and screw them in at the top, centre, and bottom. Do this for every corner.
6. Attach the fascia boards and finials
Make your roofing felt neat using fascia boards on the sides.
Bend the extra felt down and attach the fascia boards to the roof’s ends. Fasten them on both ends and the centre.
Drill holes in the finials and attach them to the roof’s peak for a cleaner look. Cut off any extra felt with a knife.
7. Install windows
Be careful with the window glass. From outside the shed, slide a plastic strip onto the window edge.
Place a polystyrene sheet in the frame and edge it with a frame piece. Do the same for the next sheet, then add the middle frame. Mark the pane edges inside and out, then remove the protective layer.
8. Add the door fixings
The ‘fixed door’ remains closed when you only want one door open. Attach blocks to one door at the top, centre, and bottom using screws. This becomes the ‘fixed’ door.
Place a latch inside the fixed door at the top and bottom to keep it shut. Fasten strips to the main door over the gap, securing them at both ends.
Add an external latch to the fixed door to stop the main door from opening too wide.
Once everything has slotted into place nicely, your garden shed should now be finished! However, to ensure optimum protection, you should protect your shed yearly with a top-grade wood preservative against weather wear. When necessary, you should also familiarise yourself on how to dismantle a shed.
If you want to bring more style to your garden, check out our metal bistro sets, that can either be placed in or outside your shed, depending on your shed purpose.
Building a concrete shed base
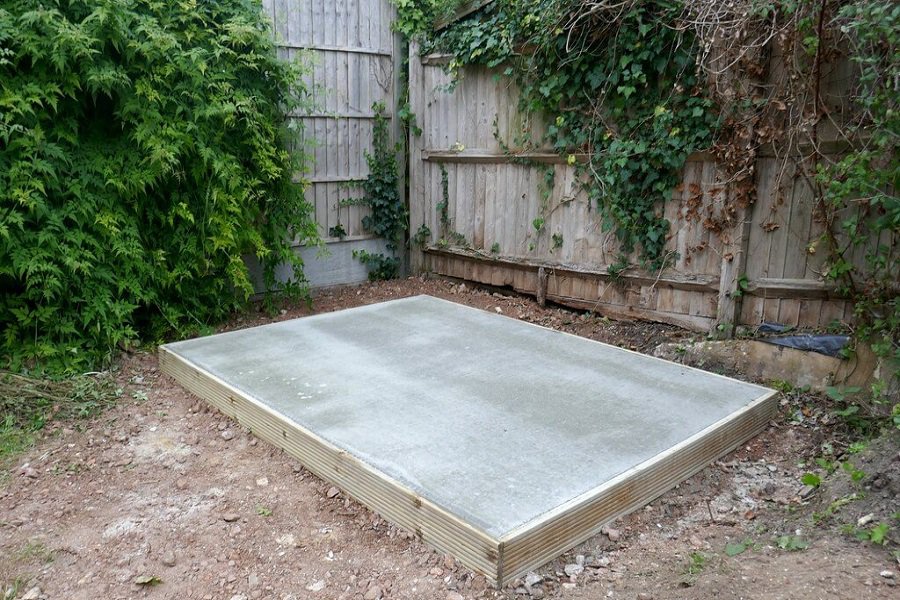
The purpose for having a concrete shed base is to ensure that your garden shed remains stable and level. You can either do this process either before or after you have learn how to build a wooden shed. For practicality, build the concrete foundation first. For this, you will need:
- Sand
- Cement
- Water
- Ready-mixed concrete
- Tape measure
- Pegs
- String
- Set square
- Spirit level
- Spade/rake
- Finely-broken hardcore and earth rammer
- Timber (at least 25mm thick)
- Cement mixer /mixing board
- Wheelbarrow
- Tamp board
- Floor bearers
How much concrete will I need?
To figure out the concrete amount for your base, calculate:
depth x width x length of the slab.
Concrete is typically measured in cubic metres. For a base 100mm deep, 3m wide, and 2m long, it’s 0.10m x 3m x 2m = 0.60 cubic metres. Add an extra 10% for safety, and round up (like 0.70 cubic metres in this case). It’s wise to have a bit of extra concrete.
After gathering your tools and materials, proceed with these steps to create your shed’s concrete foundation.
Step 1: Choose the right location
Choose your shed’s location wisely before starting.
Consider its purpose and visualise its placement, ensuring easy access for its use. Most likely, you won’t need permission for a shed, but check if unsure.
Maintain a one-metre distance from walls or fences for easy building and upkeep. This space helps in maintenance tasks like getting rid of weeds or painting and ensures good ventilation, preventing dampness and rot.
Pick a sunny spot for natural light but avoid overheating. If utilities are needed, consider proximity to main connections or explore off-grid options.
Step 2: Level the site
Before starting, ensure a flat ground.
A level base is crucial for a sturdy shed. Uneven ground can lead to structural issues as wood adjusts to weather changes, affecting doors and windows.
Mark the base area using a tape measure, pegs, and string. Ideally, the base should be 30-40mm bigger than the shed on all sides. Ensure corners are at right angles.
Clear vegetation, remove topsoil to a depth of 150mm, and set aside the marking strings but keep the pegs. Spread the hardcore, level it, and compact. Optionally, top with compressed sand.
Step 3: Building a timber frame to contain the concrete
Ensure your frame’s inner dimensions match your desired base size.
Construct a wood frame to hold the concrete. Check that the diagonal measurements are equal for a square base and use a level to ensure it’s flat atop the hardcore. Adjust as needed.
Place wooden pegs about every 600mm inside the frame for stability. Keep pegs below the frame’s top for easier concrete levelling.
Step 4: Mixing the concrete
After pouring, use a board to even out the concrete.
Choose between ready-mixed concrete or DIY by mixing sand, cement, and water (typically a 1:5 cement to sand ratio). Add water gradually for the right texture. For consistency, use the same water amount for small mixes. For big jobs, consider a cement mixer.
Fill the frame with concrete, ensuring it reaches corners. Flatten and compact it. Tap the frame edges to remove air pockets. Keep adding and levelling concrete until it’s slightly above the frame.
Slide a timber piece over the slab in a sawing motion for a smooth finish. Check with a level for a flat surface.
Step 5: Add shed to top of the base
Wait until your base is fully dry.
Let the concrete settle for three days before removing the frame. If it’s rainy, use plastic to cover it. In hot conditions, mist it with water and shield with damp clothes to avoid cracks.
Before setting up your shed, place floor bearers to elevate it, ensuring airflow and protection from moisture.
Opt for 75mm x 50mm timber bearers, treated for insects and decay. Position them about 400-600mm apart, aligned perpendicular to any pre-existing shed floor joists. Ensure they’re even using a level.
Now, you’re set to place your shed! However, it is also crucial to know that concrete shed bases can be built for when you want to build a log cabin too.
Construct Your Own Garden Shed
To build a wooden shed in your garden requires careful planning and execution. From selecting the ideal location, ensuring a level foundation, to the intricacies of assembling the structure, every step is crucial. Using the right materials, especially for the base, ensures longevity. Remember to protect your shed from weather elements and maintain airflow to prevent dampness. With patience and attention to detail, you’ll have a durable and functional garden shed ready for use. Be sure to check out these free shed plan ideas for further details on how to improve your garden shed once it has been built.
And if you would like more gardening ideas, why not try these amazing small garden pond ideas.
FAQs
Can you build a wooden shed directly onto a concrete base?
Yes, you can put a wooden shed directly onto a concrete base. In fact, a level and solid concrete base is often considered one of the best foundations for a wooden shed. It provides a stable, durable, and level platform that helps protect the shed from ground moisture and ensures longevity. When placing a wooden shed on a concrete base, it’s a good idea to use anchor bolts or brackets to secure the shed to the base, preventing it from shifting due to wind or other forces.
Do I need permission to build a wooden shed?
In the UK, as in many other places, small outbuildings like sheds are considered “permitted development” and generally don’t require planning permission. However, there are some conditions and limits:
The shed should be single-storey with a maximum eaves height of 2.5 metres and a maximum overall height of 4 metres with a dual-pitched roof or 3 metres for any other roof.
It should not be forward of the principal elevation fronting a road.
It should be used for domestic purposes only.
If the shed is within 2 metres of a property boundary, the maximum height should not exceed 2.5 metres.
The shed, along with other outbuildings, must not cover more than 50% of the total area of the property’s curtilage.
If you live in a listed building or a designated area (like a national park or an area of outstanding natural beauty), different rules might apply. Always check with your local council or planning authority before building a shed to ensure you’re compliant with local regulations.
How much would it cost to build a shed in the UK?
The cost to build a shed in the UK can vary widely based on size, materials, complexity, and whether you’re building it yourself or hiring professionals.
A basic off-the-shelf garden shed might cost anywhere from £200 to £1,000 or more.
Custom-built sheds or more substantial workshops can range from £1,000 to £5,000 or even higher, depending on specifications.
If you’re building the shed yourself, you’ll need to account for the cost of materials, tools, and any additional features or finishes you want to include.
Other potential costs include the foundation (e.g., concrete base), insulation, electrical wiring, and any interior finishes or customizations.
It’s always a good idea to get multiple quotes if hiring professionals and to budget for any unforeseen expenses.
Sources
Fisher, S., (2023) 15 Free Shed Plans That Will Help You Build a Shed. The Spruce. [online] Available at: https://www.thespruce.com/free-shed-plans-1357751 [accessed 15/09/23]
B&Q. (n.d.) Ready Mixed Concrete. B&Q. [online] Available at: https://www.diy.com/building-supplies/cements-additives/concrete.cat [accessed 15/09/23]
Burrows, H., (2018) Shed Base. Flickr. [online] Available at: https://www.flickr.com/photos/foilman/25667742128 [accessed 28/09/23]
Ryan Jenkins is a professional gardener and has been working in the gardening industry for over 25 years. This has allowed Ryan to accumulate a vast wealth of gardening knowledge which he shares on the Sefton Meadows blog.