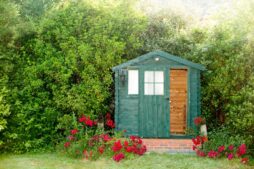
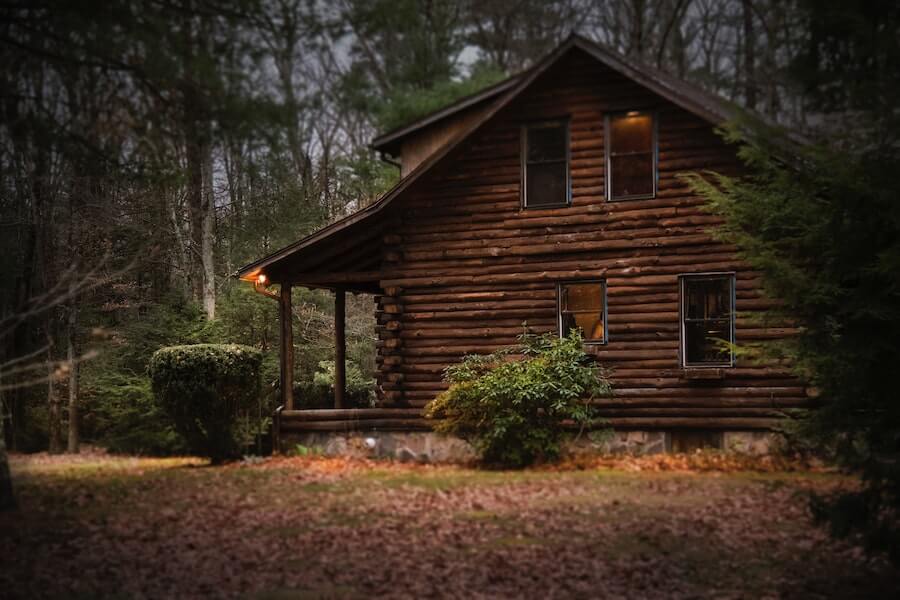
A log cabin can embody the rustic charm one would expect from expert craftsmanship and long-lasting wood. No matter whether you are looking for a quick weekend escape, a cosy haven to share with loved ones, or even somewhere for you to focus on your independent projects, there are options aplenty for a log cabin. But how do you build one? Are you looking to build one from scratch, even if you have little knowledge of crafting one, or possess advanced woodworking skills? In this article, you will find everything you need to know about how to build a log cabin, including how to attach it all together, using log or timber, and the pros and cons of both buying a cabin or building your own.
- What you will need:
- 1. Prepare the ground for your log cabin construction.
- 2. Lay bearers and base logs
- 3. Attach the cabin walls, windows, and door frames
- 4. Install the log cabin roof joists
- 5. Add the decking and roof boards
- 6. Lay out the floorboards
- 7. Attach the log cabin door
- 8. Fit storm braces
- 9. Lay down the roof felt and add the final boards
- Other ways to build a log cabin
- Building your log cabin from the bottom
- Adding fittings
- Assembling the roof
- Finishing off your log cabin
- Is log or timber wood better for a log cabin?
- Laying the foundation blocks for a log cabin
- How long does it take to build a log cabin?
- Pros and cons of buying a log cabin
- Pros and cons of building a log cabin
- How to Treat a Log Cabin
- Learn How to Build a Log Cabin with Sefton Meadows
- FAQs
- Sources
What you will need:
Before you begin crafting your log cabin, have you checked that you have got the following items in your itinerary?
- Rubber mallet
- Hammer
- Tape measure
- Spirit level
- Saw
- Electric drill
- Screwdriver
- Wrench
- Ladder
- Protective gloves
- Eye protection
- Nails/screws
- Tape measure
- Carpenter’s square
Once you have ticked these off your checklist, you can proceed further through this article.
Be sure to add our luxurious hammocks and swing chairs to your garden to help you relax and enjoy the sun in the summer.
1. Prepare the ground for your log cabin construction.
Ensure the stability and level of the ground foundation that you will base your log cabin on is adequate. When constructing a log cabin, we advise that you opt for a sturdy concrete foundation, or alternatively, concrete slabs, and have them measured to be precisely aligned with the cabin’s foundations.
Next, you should arrange your floor bearers evenly, and distribute them across the foundations. We recommend that you carry out this task during dry weather conditions. Even if there is a chance of rain, use PVC coverings on the bearers; which will help prevent moisture seeping into the flooring.
2. Lay bearers and base logs
After you have laid down your floor bearers, lay the initial base logs over them, ensuring that all angles are square. Then, finely screw the base logs to the bearers until they are secure, as this will prevent the structure from moving.
3. Attach the cabin walls, windows, and door frames
Walls: For this process, you will first need to have a gentle yet firm force to attach the logs onto the joints by using a rubber mallet. Allow for a snug fit between the tongue and groove across the whole length of the logs and secure them tightly.
Windows: When constructing the log cabin walls, you can begin inserting the windows carefully. Apply firm pressure at the top to eliminate the chances of leaving a gap at the bottom. But if you do encounter difficulty fitting in the windows, make sure to loosen the screws located around the frame, and re-tighten as you fit the window in place.
Door frames: Gradually proceed with building the wall logs to be measured as the door framework. All the door frame pieces should be slotted into the bottom, sides, and top of the frame. Once accomplished, you can finish building the wall logs.
4. Install the log cabin roof joists
After all the cabin walls up been successfully built, you can start adding the roof joists. To do this, tap each of the joists into the upright channels located at the top of each wall. The joists will run from one side of the structure to the other.
5. Add the decking and roof boards
Once you have finished the primary procedures above, you can commence adding the decking using pressure-treated boards. Even gaps should be managed and maintained across each board using another board as a spacer when laid on its side. Use screws to secure each board to the bearers.
Attach the exterior support beam to the corner of the decking. Doing this will provide support to the overhanging roof beam. However, since it is not pre-cut, you might need to trim them down using an appropriate saw. Use suitable screws to secure them in place firmly.
As you gradually work on the roof, position each board onto the beams, and make sure that the grooves face away from the building. Align them at the end of the roof joists and secure them to the roof beams.
Next, lock the boards into position, and check that there is a flush alignment at each edge of the structure. There should also be a proper insertion of the tongue and groove across the entire length of the board. Nail them securely to the roof beams for extra stability.
Finally, when you reach the last roof board, you may find that this overhangs the joist. You should trim this to be level with the end of the roof support beam. Do not worry about rough edges, as these can be concealed by the roof felt and fascia board.
6. Lay out the floorboards
For this stage, you can start by positioning the first floorboard to be adjacent to the cabin wall, ensuring that the groove faces outward, and then secure it in place using strong nails. With each board, drive the nails in at an angle to bring the boards together, and the grooves for the next board should conceal the nails if implemented correctly.
You may need to measure and trim sections of the floorboards to accommodate the internal angles which are formed at the log cabin wall logs.
Take measurements of the log cabin’s internal dimensions and finely cut the finishing strips.
Lastly, secure these strips along the perimeter of the flooring, which will tidy up any leftover rough edges and will enhance the appearance of the flooring.
7. Attach the log cabin door
For this stage of your log cabin building process, all you need to do is line up the barrels of the door hinges with those located on the door frame and simply slot them into place. Once they have all closed, the edges of the door will be covered by the framework and cannot be removed from the outside.
8. Fit storm braces
Adding storm braces will provide extra support to your log cabin if there are severe weather conditions such as storms and high winds. Fix these storm braces to the walls inside the log cabin at both the top and bottom of the braces, and drill them into the wall log, secured using a nut and bolt.
9. Lay down the roof felt and add the final boards
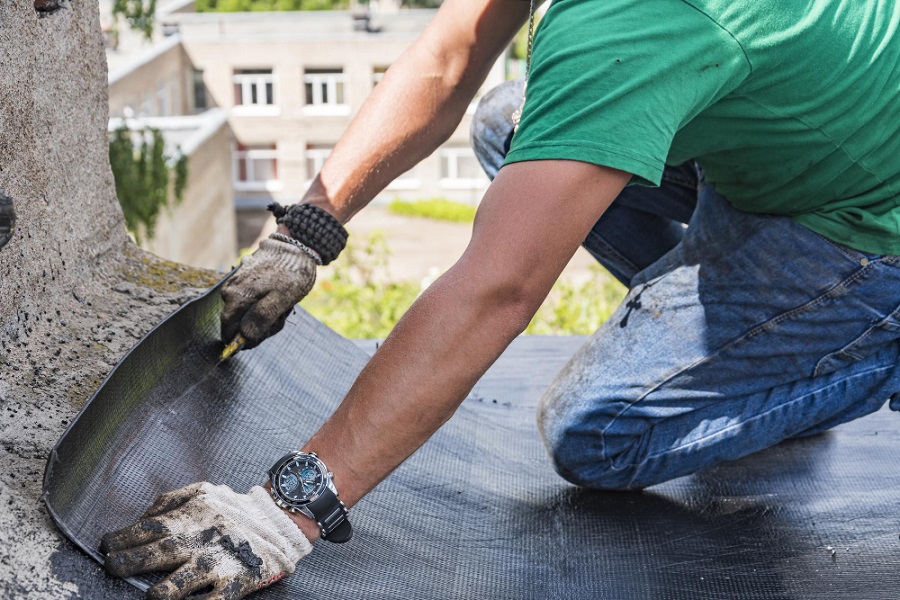
You have now reached the final stage of how to build a log cabin, and if you have followed these instructions, then it should have been a breeze and easy experience. But before you finish off and prepare to celebrate, you need to make sure that the roof felt is installed and therefore prevent any external elements from getting inside.
To do this, start by unrolling the felt and cut it at an appropriate length which will cover the entire roof, with a two-inch overhang at each end. We recommend measuring the length of the roof first, and then the roof felt accordingly. For this method, you should cut at least five strips of roofing felt.
Then, position the felt on both sides of the apex, and nail them down at two-inch intervals. Overlap each felt strip by at least an inch; this will help prevent water infiltration. Reserve the strip that will cover the apex for the final stage.
Next, fold the overhanging felt over the roof edge and securely fasten it to the roof beams. You can also utilise the fascia boards as leverage which will press down on the roof felt and can be attached to the roof beams using screws. To prevent the wood from splitting, drill pilot holes before inserting the screws.
You can also achieve a more polished and refined finish by attaching the roof felt to both the front and back of the roofing using an appropriate spaced-out track.
Once you have fitted your felt, you should now have a fully completed log cabin. If you became intrigued by having your own personal space, why not check out these summer house interior ideas too?
Other ways to build a log cabin
Of course, building a log cabin from scratch is not the only way to have one in your back garden. Some may prefer to buy a pre-built one. If that is the case with you, then here is the guidance that you need to follow if you have bought a log cabin.
Whilst it is handy to have this article at hand when your pre-built log cabin arrives, it is still better to relate back to the manual instructions provided with your package.
Building your log cabin from the bottom
Start by checking over the construction manuals that came with your log cabin delivery, which follows a bottom-up approach when commencing with the foundation timber. Place the base beams onto the prepared foundation, and establish an assembly starting point, positioning the log cabin in the intended location.
As you begin to build your log cabin, we recommend that you exercise caution as well as precision following the setup process. Gradually erect the cabin, beam by beam. This process may become repetitive, but it is vital to remain focused and attentive to prevent any errors from occurring. Make sure to pay particular attention to the shorter lengths of timber, as these are intentionally designed to accommodate cabin fittings, including windows and doors. These specific pieces need to be fitted correctly.
Adding fittings
Raise three or four of the beams from their base and begin installing the frames. During this installation process of adding the windows and doors, place a small cardboard shim between the bottom of the fitting and the frame. This will ensure a snug fit with sufficient clearance and will prevent scraping against the frame.
As you fit the hinges, you may need to remove the respective door or window frame to facilitate the insertion of screws.
Assembling the roof
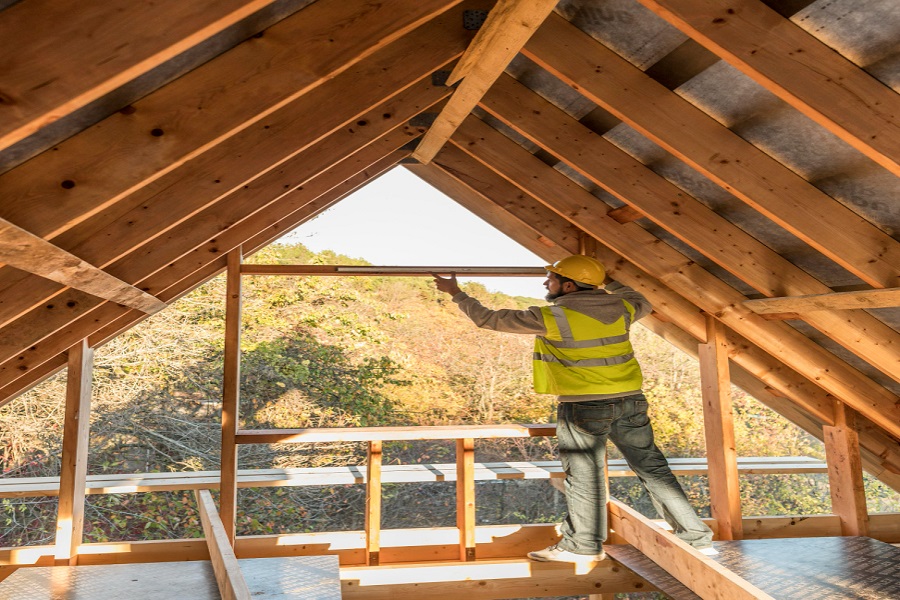
For this stage of building a log cabin, we recommend that you have a construction partner alongside you to make this process easier.
- At the junction where the roof meets the cabin, each end will be adorned with a sloped gable frame. This frame will either already come assembled or will need construction. Once this is complete, elevate and fasten it securely to the cabin.
- During the process of listing heavy objects, ensure that you perform these activities correctly and safely. Bend down with your knees rather than with your back.
- Fix the roof rafters horizontally across the roof’s length and overlay the roofing boards. These boards should fit snuggly and ensure that water cannot leak through. Finalize the roof by placing the felt over the boards and use tacks to secure it at a length of 4 inches apiece. Overlap the felt at each end of the roof, and this will help accommodate the installation of fascia beams that are measured at 100mm.
- Remember to exercise caution when sitting or standing on the roof during its construction, as it may not be suitable to withhold you and your construction partner’s weight. Always check that the surrounding area is safe and supported. It is always better to err on the side of caution beforehand and avoid taking unnecessary risks.
Finishing off your log cabin
After you have finished constructing your log cabin and therefore created a warm and inviting environment within it, we advise that you apply a coat of wood preservative to enhance its long-term protection and sustainability. Additionally, you should review the instruction manual that came with your purchase to confirm that you have missed no steps, and no components have been overlooked. Performing these final checks will ensure that the log cabin remains safe and durable for the coming years.
Find ways to transform your log cabin into a vibrant environment with our incredible garden pub ideas.
Is log or timber wood better for a log cabin?
If you prefer an authentic approach for your log cabin, we recommend that you use timber wood instead for your cabin. again, this process can be time-consuming and hazardous if you perform the task incorrectly. Also, note that you will need permission to cut down trees in your local woodland if you own them.
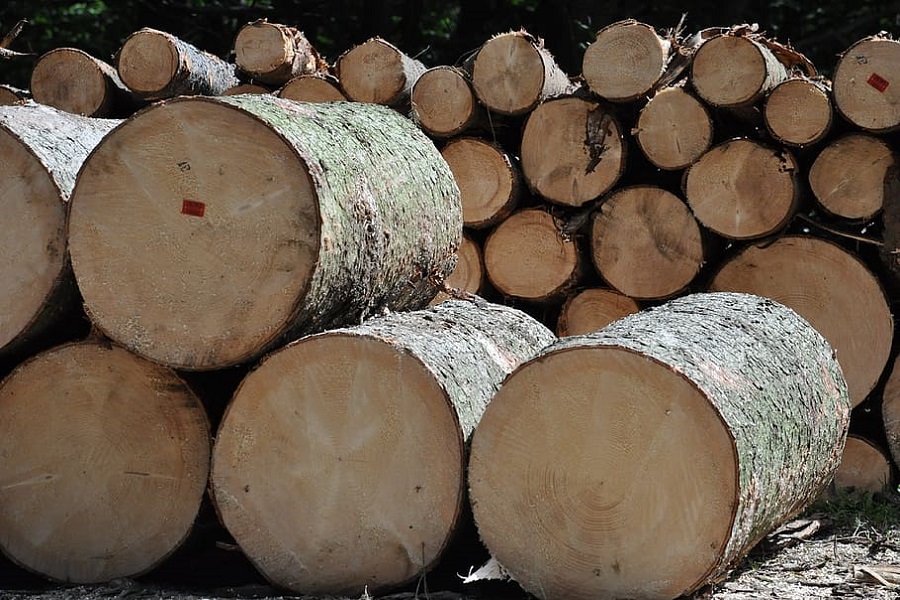
Regardless of whether you decide to chop down timber or purchase it, the quality and quantity of wood for your log cabin remain crucial. Evergreen wood is the best option to use for your cabin, but pine and spruce are great choices too, as these are easier to fell compared to deciduous trees such as oak and birch and will offer superior qualities for your building purposes.
Pine and spruce are very popular trees due to their wood density, but spruce particularly stands out because of its denser composition and appealing colours. The increased density of the wood helps to enhance the strength and structural integrity. However, you should not mix pine, spruce, or other woods together for your log cabin, since this can generate varied results and can affect the stability of the cabin.
Check out what the best trees for garden privacy are to keep out those nosy neighbours!
Laying the foundation blocks for a log cabin
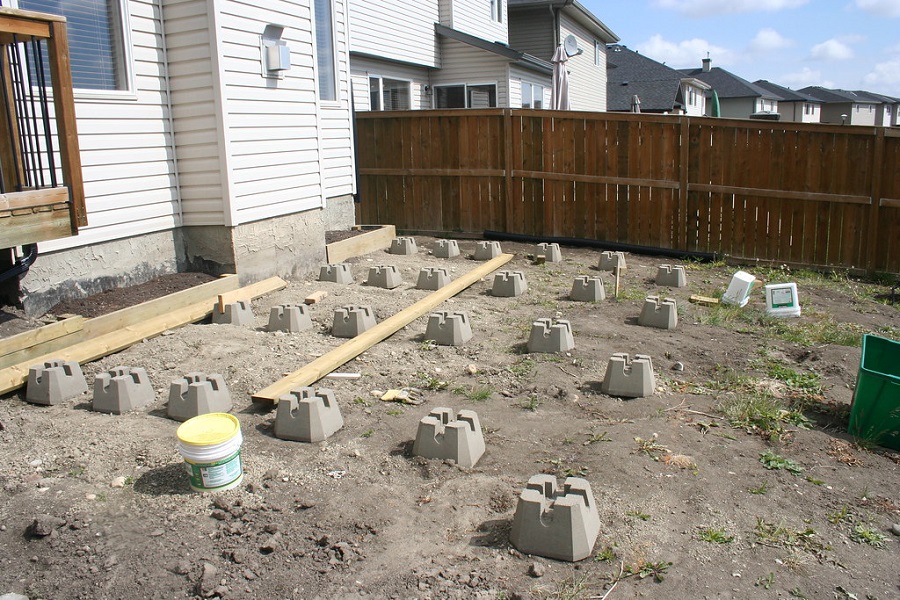
If you already have a base in place, it is still necessary to secure the timbers of your log cabin to the foundations using foundation blocks. These concrete blocks will protrude from the foundation or base and connect to the cabin’s structure. You should prioritise the inclusion of foundation blocks and a solid floor structure when designing your log cabin.
Use concrete and a set of box moulds to build your foundation blocks. Dig into the ground or find space within the existing base for you to construct the blocks. Fill in the dug-out area with a mixture of both concrete and rocks, and then utilise the mould to shape a square foundation block that will extend above the ground level.
While the concrete sets, position and leave a metal rod in the centre of each block. This rod will serve as the point of attachment for the logs within the foundation blocks. Adopt this process to create a foundation block at each corner of your log cabin and ensure that the logs are firmly anchored to the blocks during their construction.
How long does it take to build a log cabin?
The time it takes to build a log cabin can vary drastically, depending on various factors such as appropriate weather conditions, the manpower, and whether the tools and materials are available at the time of purchase. It can take at least eight months to fully build a log cabin, whereas in other instances it could take 25 months.
The earlier you plan the stages of constructing for your log cabin, the quicker it can be set up since this is the most crucial stage of the project.
Pros and cons of buying a log cabin
Pros
- Less investment of time is required.
- Will not require as much serious construction, and less woodworking skills or tools.
- Building log cabin kits are more reliable, and any missing pieces can be easily replaced, and warranties are available.
Cons
- Large log cabin kits can be very expensive.
- Designs can be left rigid and unchangeable.
- You will gain a lesser sense of achievement.
Pros and cons of building a log cabin
Pros
- Cheaper in pricing – materials and tools will be needed beforehand.
- Can be customised and are adaptable.
- Greater sense of achievement during and after construction.
Cons
- Will require more time and energy (minimum construction time can take at least two years).
- Experience and/or skills in woodwork and construction.
- If built incorrectly, it may not withstand the test of time.
Is a log cabin not your thing? Try our selection of gazebos that will be the centrepiece of your garden.
How to Treat a Log Cabin
If you have purchased a log cabin, it should arrive in a natural and untreated state. It will be your responsibility to maintain treatment and care of the structure. Apply suitable wood treatment preservative and a weatherproof finish to ensure your log cabin will last for years to come.
The protective treatments should be applied to the inside and outside of the cabin before you seal the doors and windows. Applying the sealant could lead to premature rotting in areas surrounding the doors and windows, so be sure to regulate your log cabin aftercare.
Learn How to Build a Log Cabin with Sefton Meadows
In conclusion, if you are looking for a long-term project for your garden, then learning how to build a log cabin is the way to go if you want to host more social events, or even have an escapist structure to focus on your own thoughts and goals. A log cabin can provide for your own retreat rather than having to rent one out for the weekend, and no matter whether you are a writer, a gamer, a naturist, or a collector, there will always be something for everyone that a log cabin can open many doors for.
Be sure to follow the instructions carefully in this guide, and within a matter of months, your log cabin should be in perfect condition and will last for many years. Remember to comment and show us your finished results afterward and keep up to date with this blog page for more interesting ideas for your garden which are published every month.
FAQs
What are the benefits of building a log cabin?
Building a log cabin can bring many benefits, including:
Natural beauty and aesthetics, whereupon log cabins bring a rustic charm and will blend in with its natural surroundings.
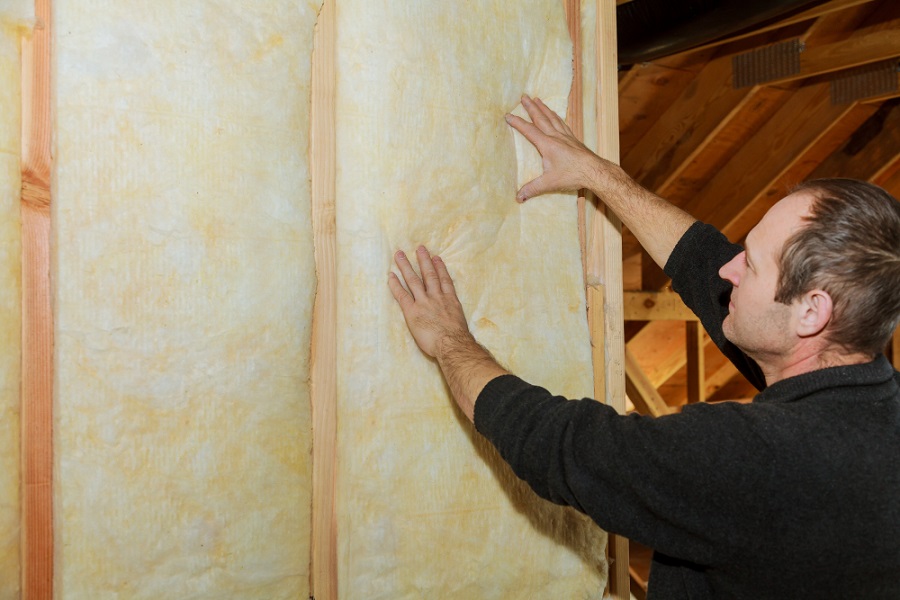
Their energy efficiency, especially with how logs provide thermal properties, and will provide insulation and help reduce energy consumption in colder months.
Log cabins are durable and have an excessive longevity.
Log cabins are also environmentally friendly and will help reduce your carbon footprint compared to other construction materials.
Can I build a log cabin myself? Do I need professional help?
You can build a log cabin yourself so long as you have the appropriate skills and knowledge. It can be a complex task, and we recommend hiring professional help, especially with the construction experience required.
Hiring a professional will help with the overall design and engineering of building a log cabin, as well as help to obtain permits and upkeep the structural integrity of the cabin.
What permits or permissions are required to build a log cabin?
Permits and permissions required to build a log cabin will vary depending on your location and local regulations. You will at least need to obtain planning permission, building permits, adhere to zoning laws, and maintain compliance with environmental regulations. Consult your local building authority to determine the requirements for your area.
What kind of foundation is suitable for a log cabin?
Foundations for a log cabin can vary, depending on your soil conditions, and size of the cabin. common foundation options include concrete slab, crawl space, or a full basement. For smaller cabins, use concrete piers or a sonotube footing. Remember to consult an engineer or foundation specialist to determine the most appropriate foundation for your circumstances.
What maintenance is required for a log cabin?
Common maintenance tasks for your log cabin will include:
Thoroughly inspect logs for signs of rot, insect infection, or water damage.
Applying wood stain remover or preservatives every few years to protect against weathering.
Using the right log sealant in the framework to prevent draft and water penetration.
Cleaning gutters and downspouts to avoid water build-up.
Sources
Woodland Trust. (2021, March). Tree Cutting Permission: A Complete Guide. [Accessed 15/05/23] Retrieved from: https://www.woodlandtrust.org.uk/blog/2021/03/tree-cutting-permission/
Forest Garden. (2022). Log Cabin Aftercare Guide [PDF]. [Accessed 15/05/23] Available at: https://www.forestgarden.co.uk/wp-content/uploads/2022/07/Log-Cabin-Aftercare-doc.pdf
Planning Portal. (n.d.). Planning permission in England and Wales. [Accessed 15/05/23] Available at: https://www.gov.uk/planning-permission-england-wales
Planning Portal. (n.d.). Find your Local Authority Building Control. [Accessed 15/05/23] Available at: https://www.planningportal.co.uk/applications/building-control-applications/building-control/find-your-LABC
Twin Creeks Log Homes. (n.d.). Strip-It Finish Remover for Log Homes. [Accessed 15/05/23] Available at: https://www.twincreeksloghomes.com/products/stripit-finish-remover-for-log-homes#:~:text=StripIt%20Finish%20Remover%20for%20Log%20Homes%20is%20a%20water%20based,of%20wood%20stain%20and%20finish.
Perma-Chink Systems. (n.d.). How to Choose the Right Log Home Sealant. [Accessed 15/05/23] Available at: https://www.permachink.com/resources/how-to-choose-the-right-log-home-sealant
Ryan Jenkins is a professional gardener and has been working in the gardening industry for over 25 years. This has allowed Ryan to accumulate a vast wealth of gardening knowledge which he shares on the Sefton Meadows blog.