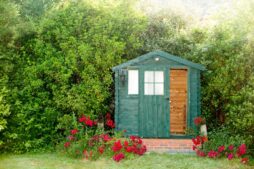
Looking to dismantle a shed? You have come to the right place. This handy guide will show you how to dismantle a shed, piece by piece, step-by-step, from removing the windows and doors to the roof and floor panels, and more.
How to Dismantle a Shed: Step-by-Step Guide
A shed is like a massive Lego set and is not as difficult to take apart as you might expect. By taking it one step at a time, we will show you the easiest and most effective way how to dismantle a shed. We will cover the following:
- How to Dismantle a Shed: Step-by-Step Guide
- Precautions before dismantling a shed
- How much does it cost to dismantle a shed?
- Step 1: Removing fascias and trims
- Step 2: How to remove windows and doors
- Step 3: How to remove roof boards
- Step 4: Removing wall panels
- Step 5: Removing floorboards
- Step 6: Tiding up leftovers
- Step 7: Extra tips
- Dismantle a shed safely with our help
- Sources
You will also need to ensure that you have the right equipment for dismantling a shed. You will need:
- Adjustable screwdriver for screws.
- Flat head or prizing tools for removing roof felt.
- Safety gloves
- Goggles
- Two people
Precautions before dismantling a shed
You should make sure that you remain safe throughout the whole process on dismantling a shed. After all, sheds can be bulky and hard to move items, so having someone to help you out is essential to make sure you do not hurt yourself. Check that you have planning permission for your shed too. If you already have one set up in your garden, this precaution should already have been made.
How much does it cost to dismantle a shed?
If you would prefer to hire a professional to help dismantle a shed, prices can vary, depending on the type of shed, how old it is, as well as the cost of labour. In the UK, you should follow guidance from the table below regarding prices for dismantling a shed:
| Project | UK Cost |
| Cost for shed removal | £350 |
| Cost for summerhouse removal | £1,400 |
| Shed roof replacement per square metre | £100 |
| Shed roof replacement (labour per hour) | £30 |
| Cost for new shed | £850 |
| Cost of asbestos shed removal | £600 |
| Cost of asbestos shed removal per square metre | £50 |
Removing glass from your shed
Before moving onto the big pieces of the shed, you should begin by removing the glass from the windows, as well as any other fragile items that are in your shed.
Be wary of rusty screws and nail
Because you are dealing with materials that have been outside with the elements for a certain amount of time, you should be aware of rusty screws as well as nails that may be poking out. This is why we recommend wearing gloves and goggles to ensure you do not injure yourself.
As well as this, check that you do not leave screws or nails lying around in case you or someone else treads on them.
Which parts are heavy to move?
Next, you should gloss over the manual instructions if you still have them as to whether certain parts of the shed will be heavier than others. Otherwise, having an extra pair of hands certainly will not hurt, and will help you finish the job twice as fast.
Removing debris from your shed
Lastly, you should ensure that the dismantled shed is disposed of accordingly.
Now that you have made the appropriate precautions, you can begin dismantling your shed, as shown in the following instructions.
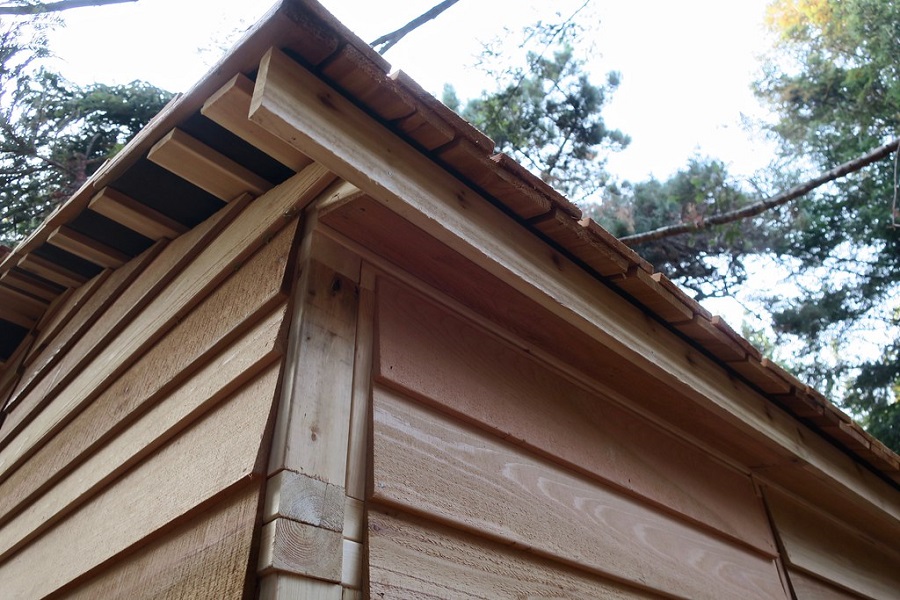
Step 1: Removing fascias and trims
You will start from the top and bottom corners of your shed, known as the fascias and trims.
Do not worry about this affecting the rest of the structure before you have barely started, because removing the fascias and trims will make it easier later to remove the other sections of the shed.
Have you checked to see if your shed is fireproof? Find out more here.
Step 2: How to remove windows and doors
The next step on how to dismantle a shed is with the windows and doors, an integral part of the overall structure.
Start with the doors and unscrew the hinges using an appropriate screwdriver head (Flat or cross / Phillips) or drill. After removing the screws, take off the metalwork, including hinges, locks, and other equipment.
By this point, you should have already removed the glass and can move onto removing the window framework.
Windowpanes can also be unscrewed, and once they are removed, you should be left with the outline where they once were, with the rest of the shed walls. To help make window removals less hassle, why not opt for garden gazebos instead to keep your garden tidy and contemporary in the summer.
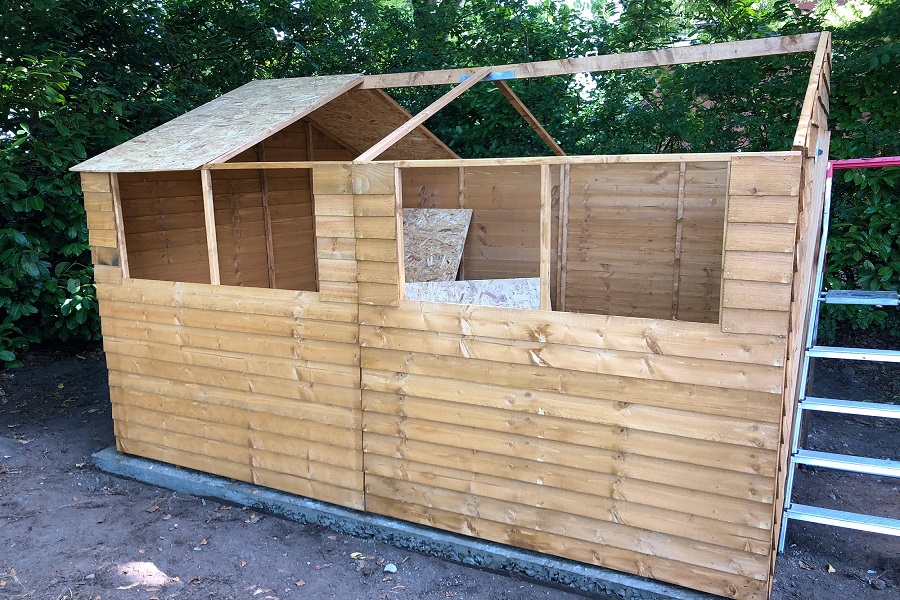
Step 3: How to remove roof boards
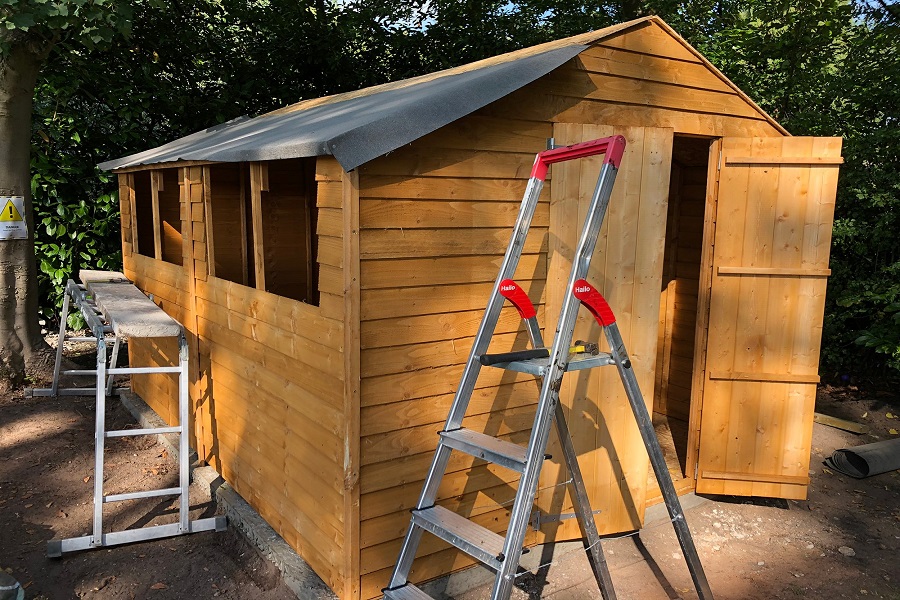
The roof is a big part of dismantling a shed. Not only do you have to worry about the roof boards and braces, but also the felt as well. Use a ladder to access the roof, and preferably refrain from climbing on the roof for this exercise since this can be dangerous.
You should take extra care when removing the felt, and preferably use a flat-headed screwdriver or other prising tools to remove it.
After all the felt is removed, you can begin dismantling the exposed roof boards. Simply unscrew the screws and remove the roof boards off the frame. Make sure your spare body is on hand to help with this task.
Get back onto ground level to remove the L-shaped bracket braces from the shed roof. You may feel like the shed is beginning to get wobbly, so take extra precautions as you move around the remaining structure.
Step 4: Removing wall panels

The simplest way to remove the wall frames is by unscrewing them from the floor. Keep your body weight away from the walls to prevent them falling on you, or vice versa.
Of course, this process can vary between wooden or plastic sheds. If, for example, the panels have been nailed in rather than screwed, you should use a hammer or crowbar to remove these instead.
Step 5: Removing floorboards
Once the wall panels have been removed, the only thing you should have left is the flooring. Sometimes you will find that shed flooring has been secured to another surface for extra stability. When removing the screws, do not forget to put them in a safe place.
You would be better off using a drill or hammer for this process. Remove each screw one at a time, and each panel individually. After all panels are removed, the existing base will be all that is left. This will often be one massive section, and since it should not be attached to anything else, you can simply remove it alongside the rest of the other panels.
Step 6: Tiding up leftovers
Lastly, there is the tidying-up process. If you have already been doing this through the process of dismantling your shed, then there is not too much to worry about here. However, you should ensure that all the shed panels are in a neat pile since it is easy to trip up on them.
Not only have you handled the wooden panels in this process, but also the metal framework and felt, so make sure that these are disposed of accordingly.
Have you made sure that all screws and glass have been put in a safe place too?
Step 7: Extra tips
Now that you know how to dismantle a shed, there are several ways you can dispose of it, such as:
- Contacting an appropriate removal service.
- Handle any rotten wood with gloves and goggles in case of crumble or splinters.
- Keep your dismantled shed on a stable surface such as on paving slabs or decking.
- Take all metal items to a recycling centre and handle them carefully.
- if you are dismantling your shed over several days, keep the removed pieces in an appropriate place.
- Always maintain the safety and security of your shed.
Are you tired of having to maintain a garden shed? We also offer arches, arbours, and pergolas to decorate your garden with for easier maintenance. They are even more keen on the eye too!
Dismantle a shed safely with our help
Now that you have made it to the end of this article, you should have a clear idea on how to dismantle a shed. If you are revisiting this article, you hopefully will have completely dismantled your shed and you are still in one piece.
With enough safety and sense, you should not have too much of an issue dismantling your shed, and you can go onto the next task in your garden.
FAQs
Is it easy to dismantle a shed?
Building or dismantling a shed should not be too much of an issue, and by taking it one step at a time, you will have it dismantled in no time following these simple steps.
What is needed to dismantle a shed?
You will need manual tools including a claw hammer, drill, and crowbar, as well as safety equipment including gloves and goggles. A spare pair of hands will help too.
How long does it take to dismantle a shed?
Time is variable, although you should not rush dismantling your shed as this could lead to injuries or missing crucial steps.
Sources
Fire Risk Assessment Network. (n.d.). Shed Fire Safety. [Accessed 01/03/23] Retrieved from: https://fire-risk-assessment-network.com/building/shed
Cost to Remove an Old Shed. Checkatrade. [Accessed 03/05/23] Retrieved from: https://www.checkatrade.com/blog/cost-guides/cost-remove-old-shed/
Ryan Jenkins is a professional gardener and has been working in the gardening industry for over 25 years. This has allowed Ryan to accumulate a vast wealth of gardening knowledge which he shares on the Sefton Meadows blog.